Configuring Business Settings for Range Lane Reservations
Last updated: July 12, 2025
Prerequisites
Before creating a class, ensure:
You are logged in as an Administrator or a user with Range Lane Reservations permissions.
To add Range Lanes Reservations to your RangeWorks services contact Support
Steps to Configure Business Settings
1. Navigate to the Business Settings Page
From the Admin Dashboard, go to Business Settings
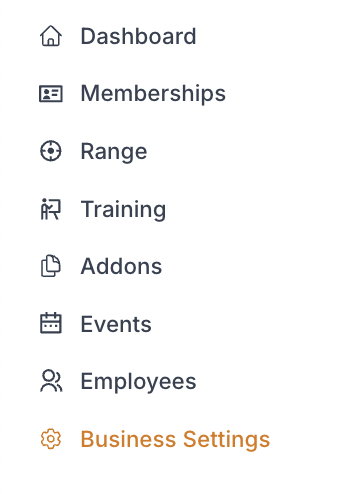
While in "Consumer UI" select Range Lane Reservations tab

2. Click into "Basic Reservation Settings"
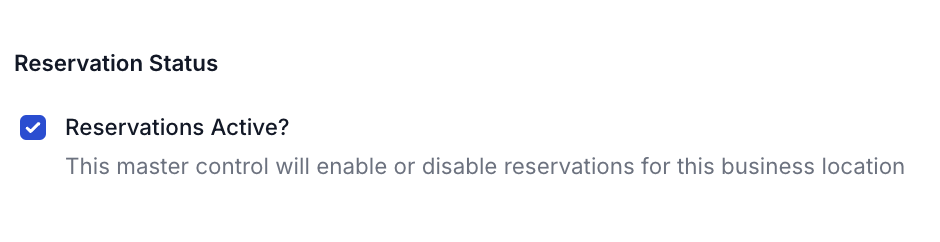
A. Reservation Status Settings
► Check "Reservations Active" to enable reservations for this business location
B. Enter Range Reservation Contact Information
► Range Reservation Confirmation Email Address: this email address will receive an alert every time a range reservation is made
~ multiple can be entered if they are separated by commas

► Range Manager Contact Email:
► Range Manager Contact Phone:
► Range Manager Contact Phone:
► Require Active Membership for Range Reservations:
~ Check this box to restrict the entire range reservation process behind a membership confirmation form, you can select to restrict access to individual bays in a different portion of the admin dashboard (See How to Set Up Your Range Bays and Lanes)

C. Booking Period Limitations
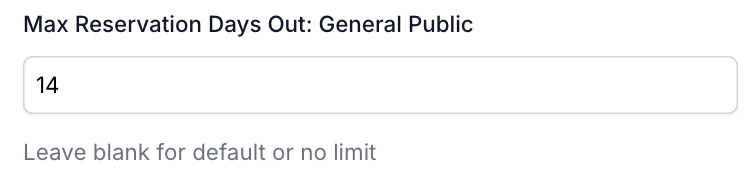
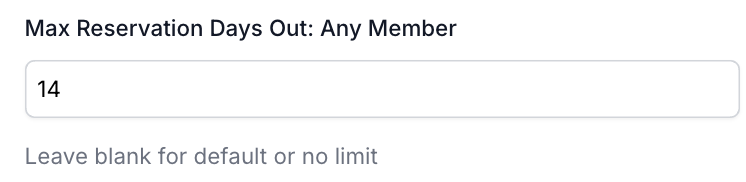
Maximum Days Out allows to you limit how far in the future specific classes of customers can reserve lanes
NOTE: Leaving these blank sets default or no limit
"Max Reservation Days Out: General Public" sets the limit for how far in advance the general public can make reservations
"Max Reservation Days Out: Any Member" sets the limit for how far in advance any member can make reservations
D. Reservation Pricing
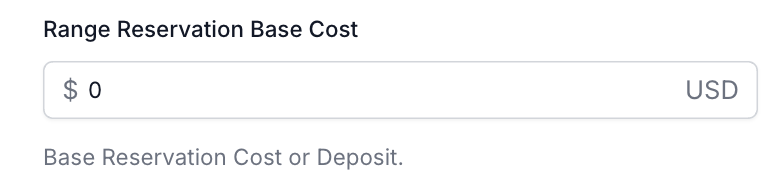
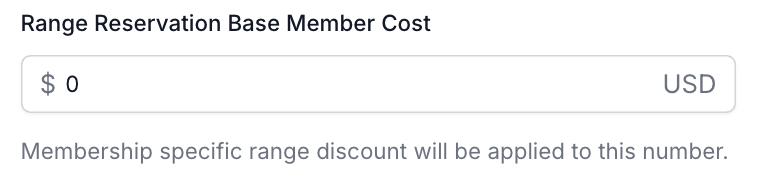
Enter "Range Reservation Base Cost" to set the base reservation cost or deposit for a range reservation
Enter "Range Reservation Base Membership Cost" to set the base reservation cost or deposit for a range reservation for a member.
Note: Membership specific range discounts will still be applied to this cost
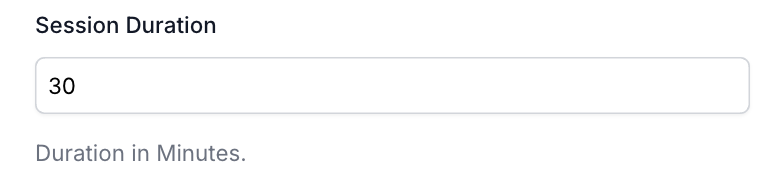
Enter "Session Duration" to set the length of time for the reservation in minutes
E. Booking Display Text
Enter "Custom Booking Text" that will display during the customers booking experience that would overwrite text of price per session.

Enter "Custom Member Booking Text" that will display during the member's booking experience that would overwrite text of price per session.

F. Other Settings
Check "Require Drivers License Number" to require a drivers license number to be entered for all online sales

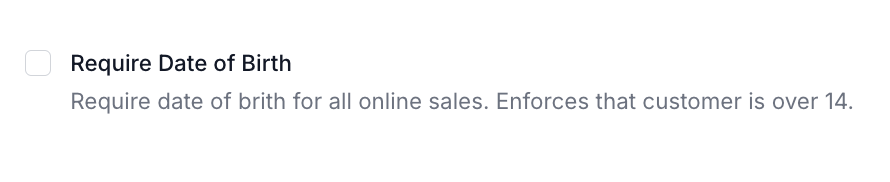
Check "Require Date of Birth" to require a date of birth for all online sales
Note: this will enforce that customer is over 14 years old
G. Click Save Changes

3. Click into "Membership Restrictions" Tab
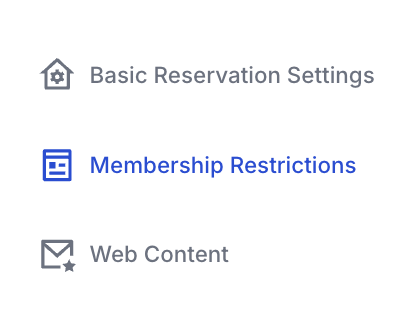
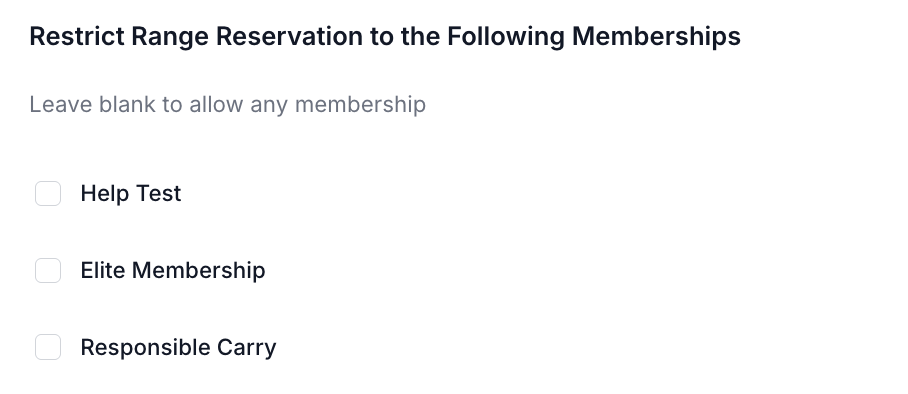
A. Restrict Range Reservations to the following Memberships
Check the box of each membership you would like to restrict range reservations for, or leave blank to allow for all memberships
B. Click "Save Changes"
4. Click into "Web Content" Tab
A. Third Party Waiver URL
Enter the URL for your third party waiver
We recommend OtterWaiver

B. Membership Required Text
Enter the text you would like to display at the top of your member ID form if reservations are restricted to members

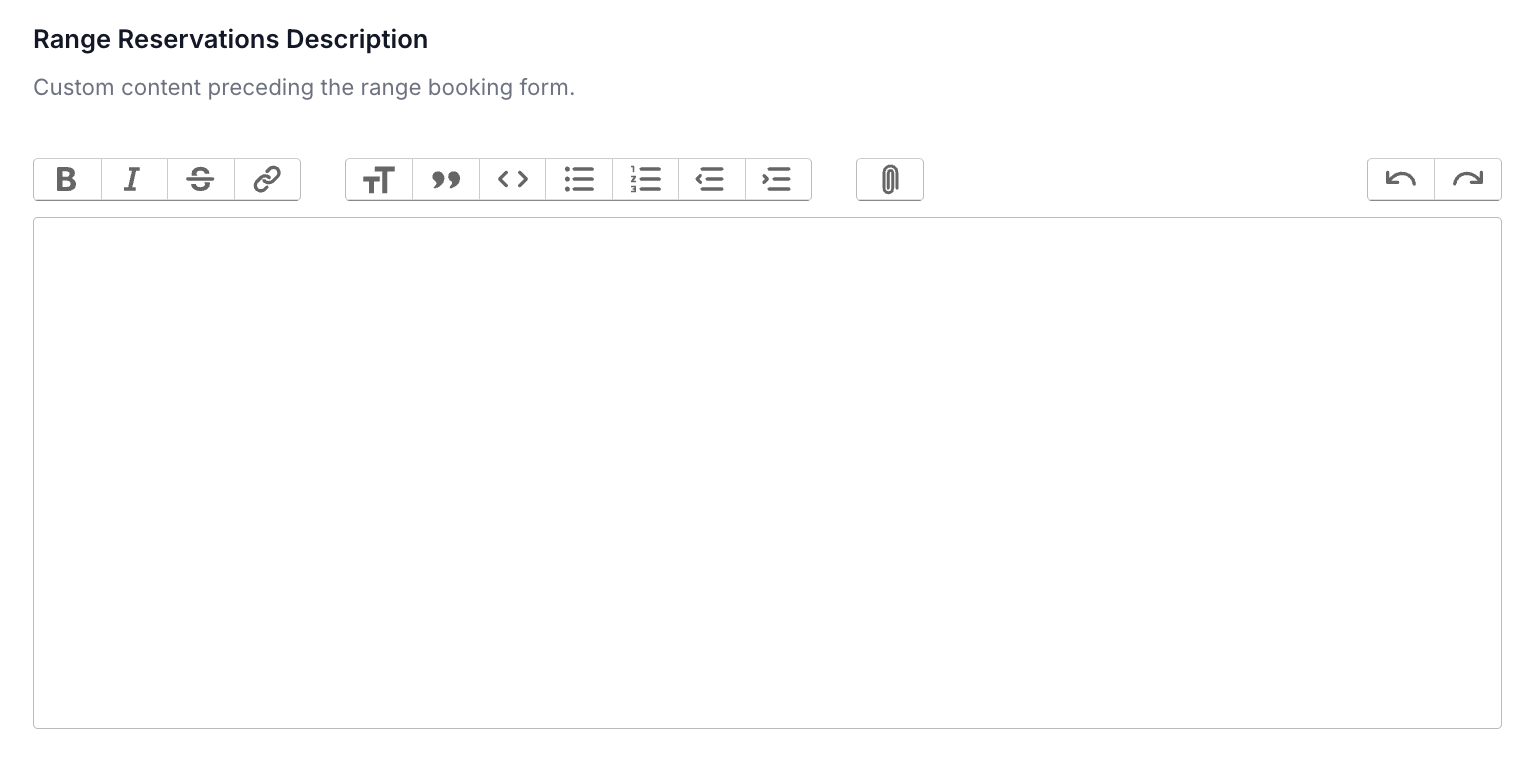
C. Range Reservations Description
Enter custom content preceding your range booking form
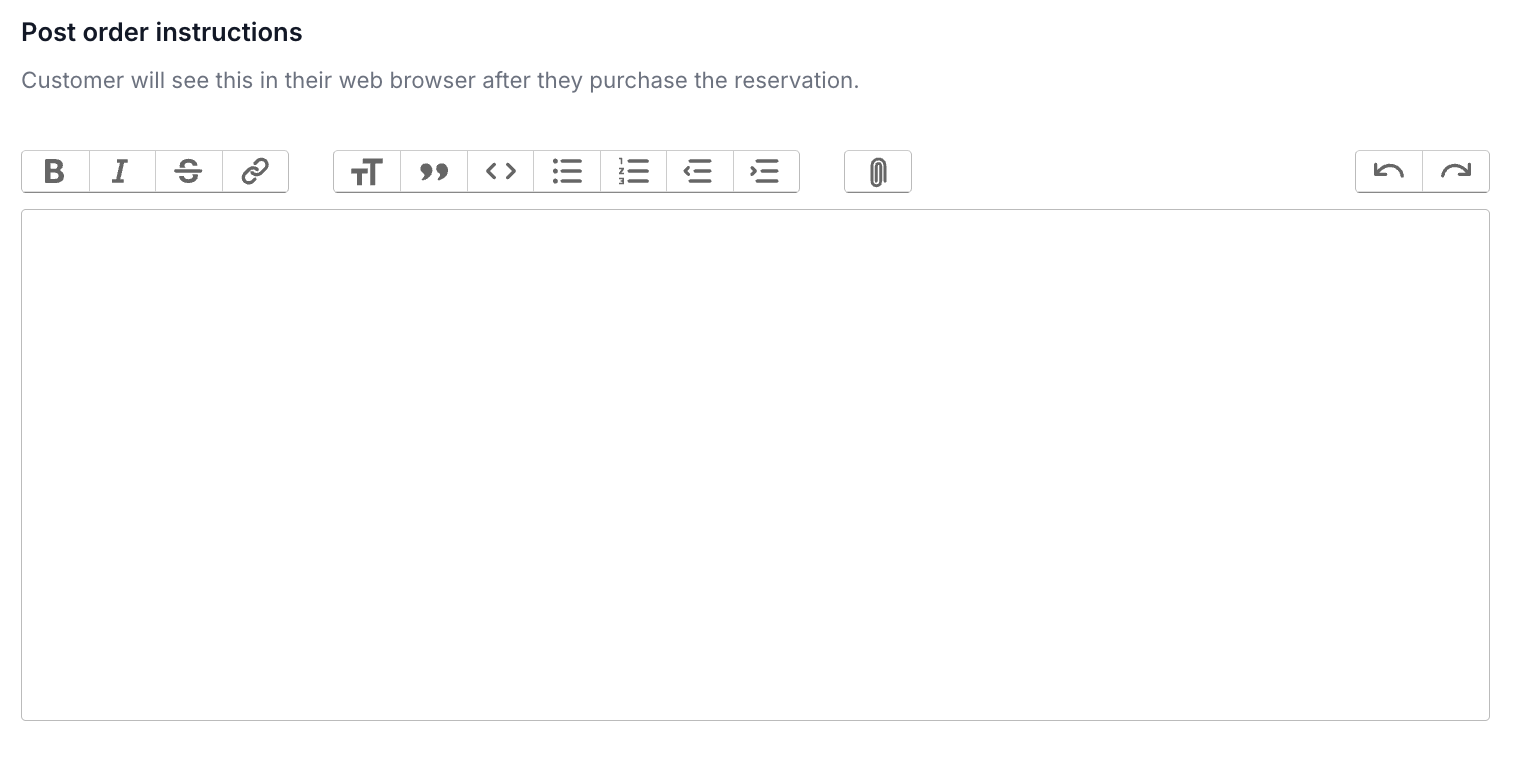
D. Post Order Instructions
Enter the custom content your customer will see in their web browser after they purchase the reservation
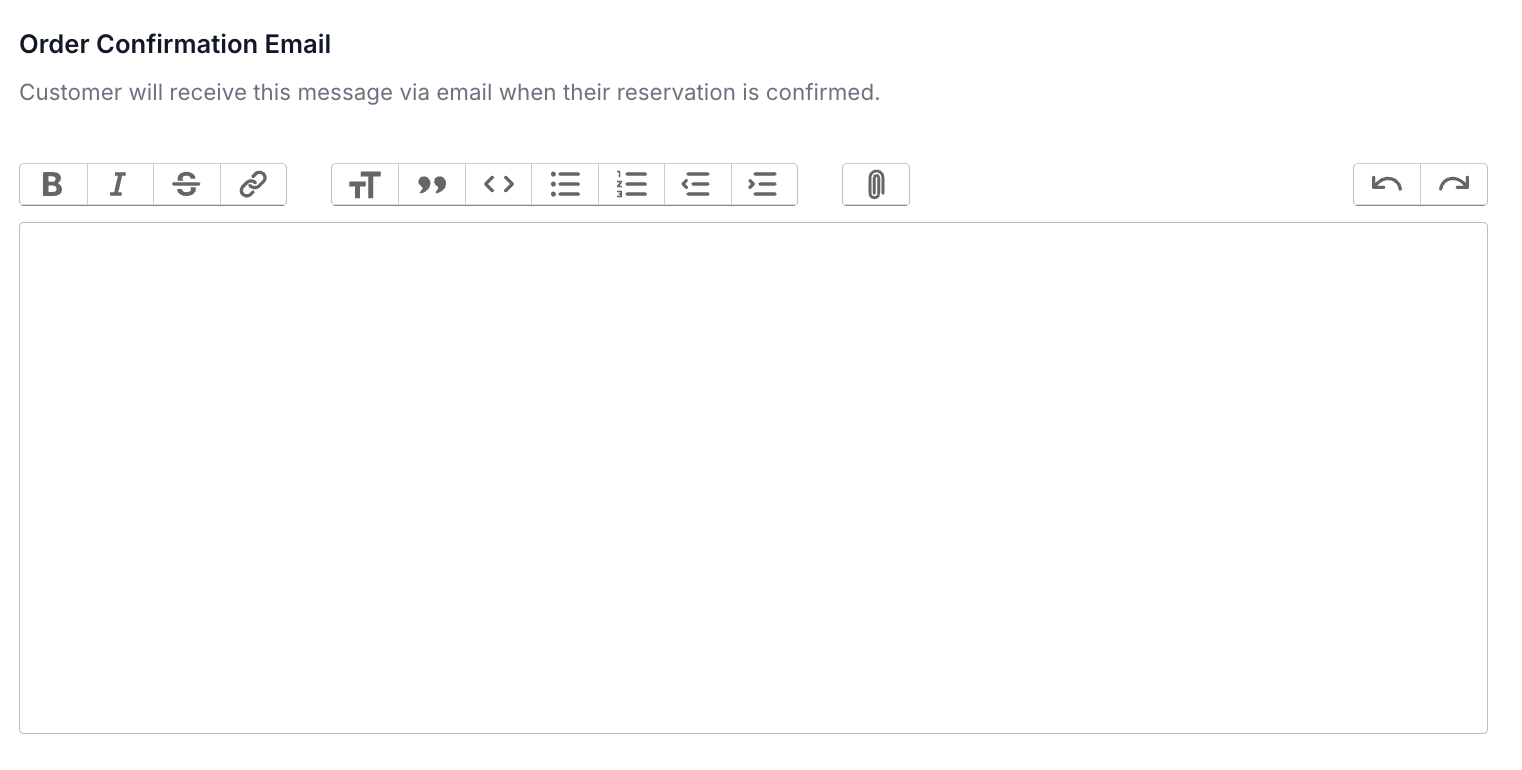
E. Order Confirmation Email
Enter the custom content of the email your customer will receive when their reservation is confirmed
5. Click "Save Changes"