Configuring Business Location Settings
Last updated: July 13, 2025
Steps to Configure Business Locations
1. Navigate to the Account Settings Page
From the Admin Dashboard, go to Account Settings
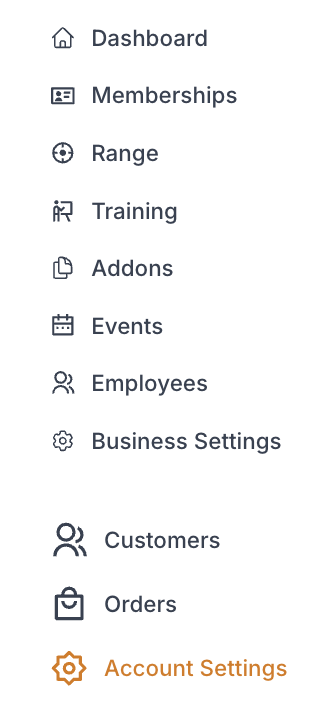
While in "Business Locations" select the business location and then Details

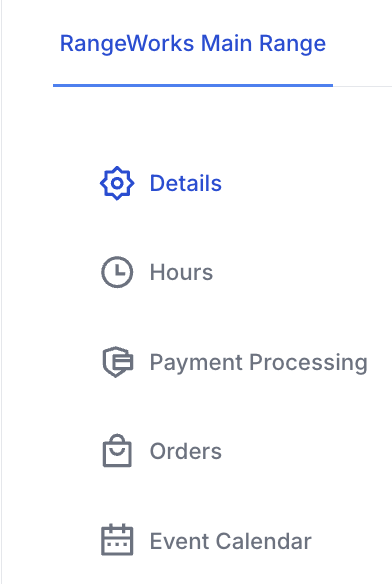
2. Setting Up Business Location Details
a. Enter Location Name

b. Enter Location Public Email Address
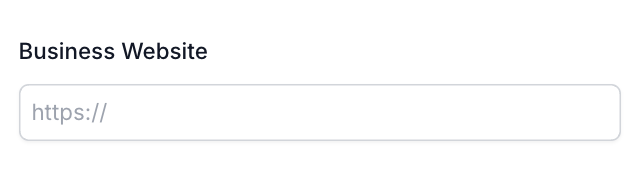
c. Enter Location Website
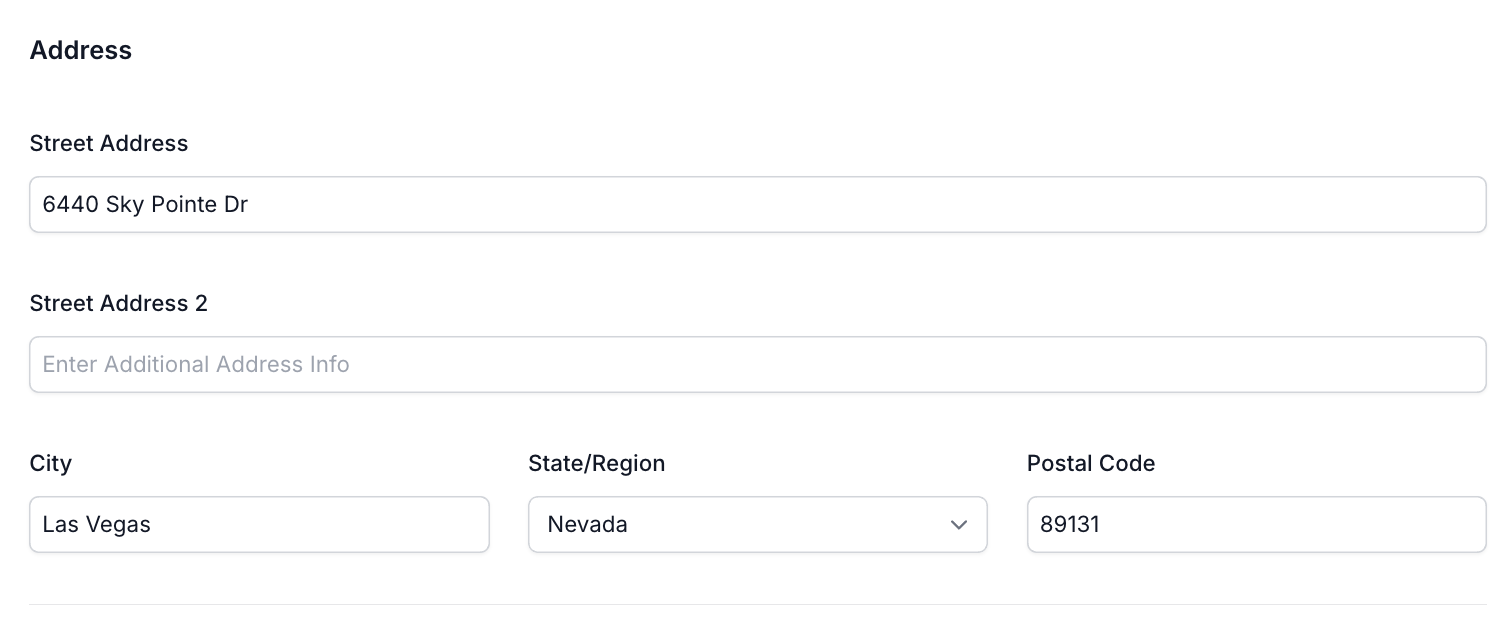
d. Enter Location Address
e. Enter Location Phone Number
i. Area Code in "National Destination Code" Box
ii. Final seven digits of phone number in "Subscriber Number" Box
iii. Extension in "Extension" Box (if applicable)

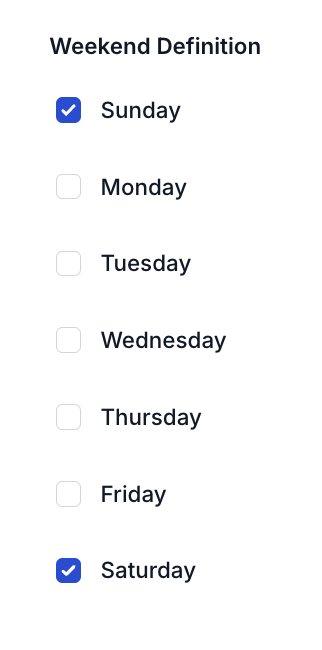
f. Define Weekend for Location
Check the days you would like to define as a weekend at this location
g. Click "Save Changes" Button
3. Setting up Business Location Hours
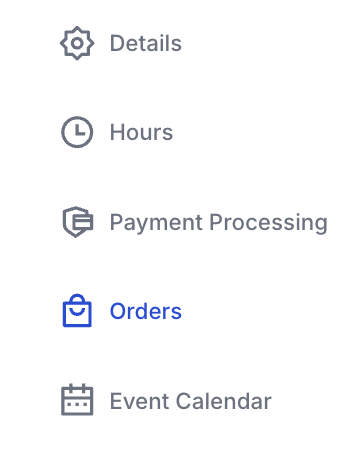
a. Click into the "Hours" tab
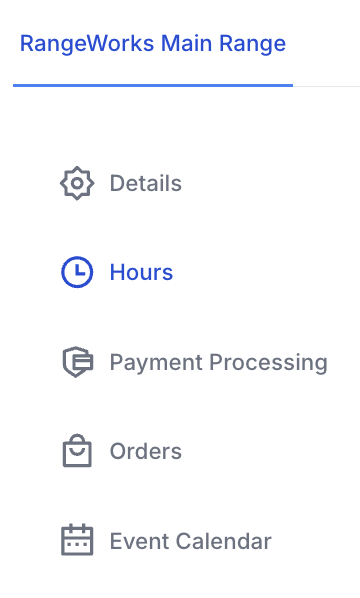
b. Set Business Hours for each day
i. Enter Opening Time
ii. Enter Closing Time
iii. If Location is closed on a certain day uncheck the Is Open? Box

c. Set Range Hours for each day
i. Enter Opening Time
ii. Enter Closing Time
iii. If Location is closed on a certain day uncheck the Is Open? Box

d. Click "Save Changes"
3. Setting up Payment Processing
NOTE: Our team will help you get this set up but you can use this tab to update and check the status
a. Click into the "Payment Processing" tab
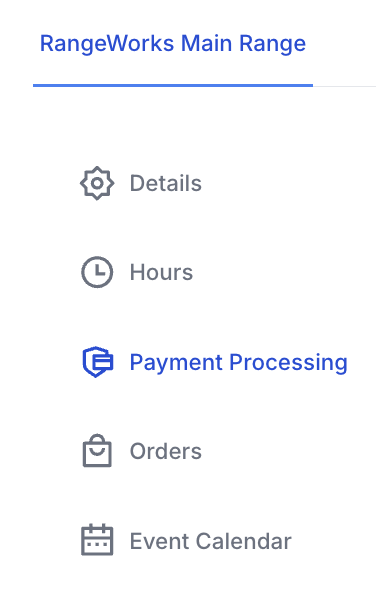
b. Select Payment System
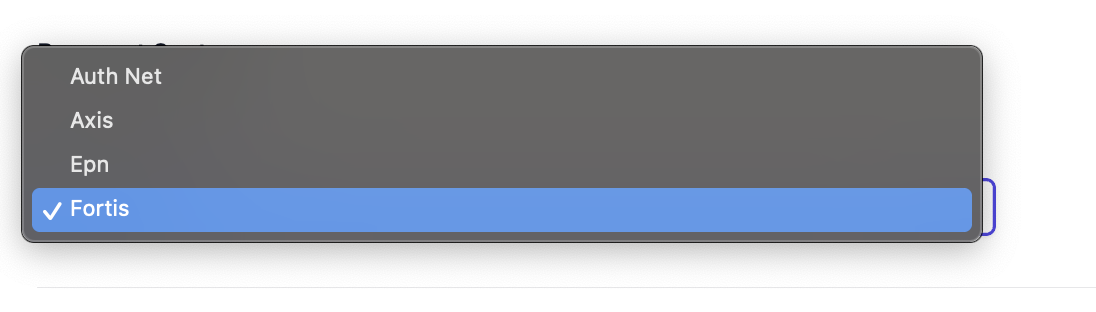
c. Enter Payment System Credentials
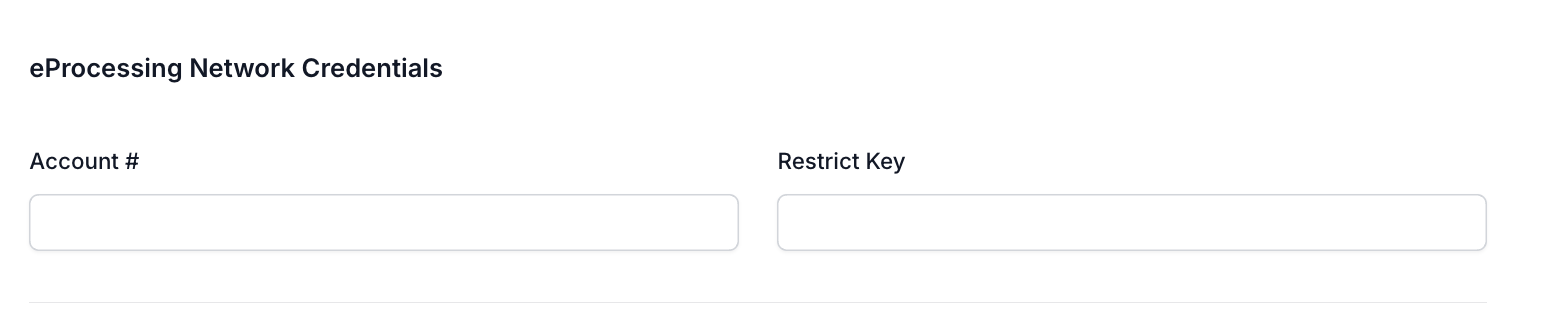
i. eProcessing Network Credentials
A. Account #
B. Restrict Key
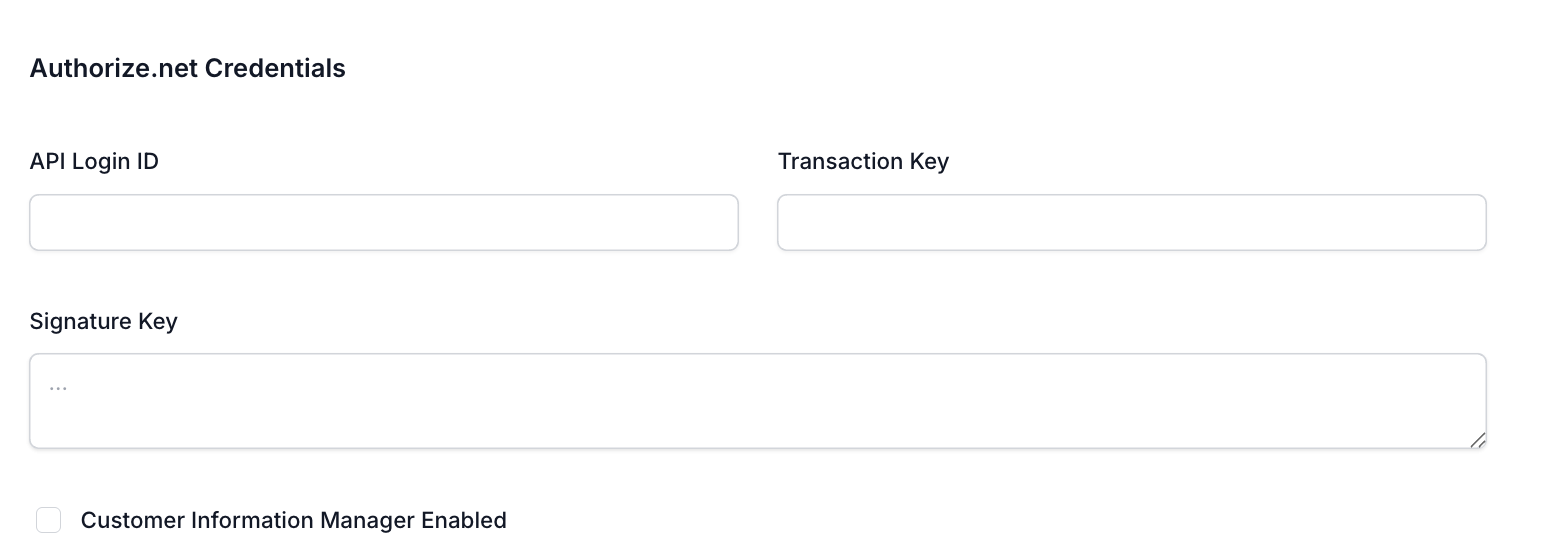
ii. Authorize.net Credentials
A. API Login ID
B. Transaction Key
C. Signature Key
D. Check or Uncheck "Customer Information Manager Enabled"
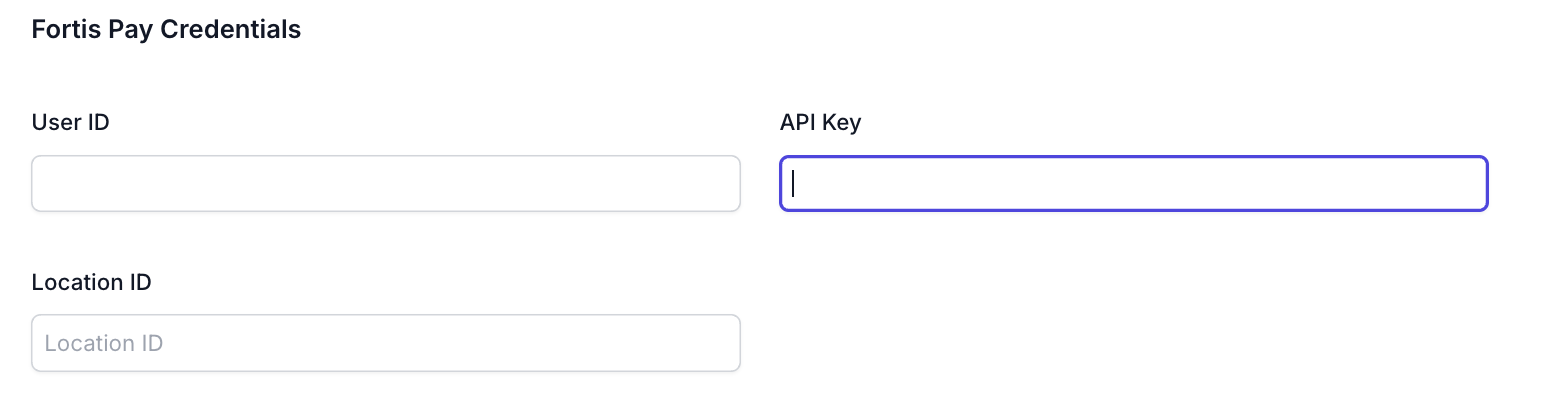
iii. Fortis Pay Credentials
A. User ID
B. API Key
C. Location ID
iv. Axis users do not enter any credentials
d. Click "Save Changes"
4. Orders Settings
a. Click into the "Orders" tab
b. General Order Settings
i. Set a Custom Order Surcharge: This can be used to add an extra fee for all online orders
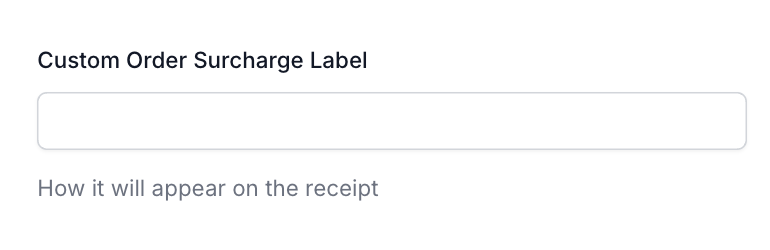
A. Create a "Custom Order Surcharge Label"
~ This is how it will appear on the customers receipt
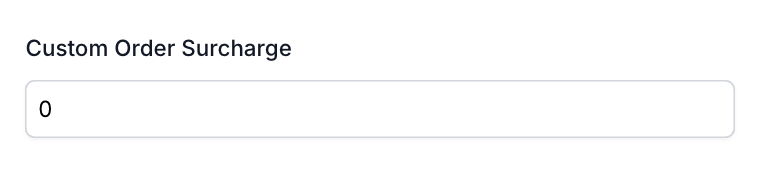
B. Create a "Custom Order Surcharge "
~ This is the amount of the fee
iii. Check or Uncheck Text Messaging Opt-In Enabled
A. This is required if you are integrating with OtterText
B. Will ask for opt in during sign up

c. Tax Settings
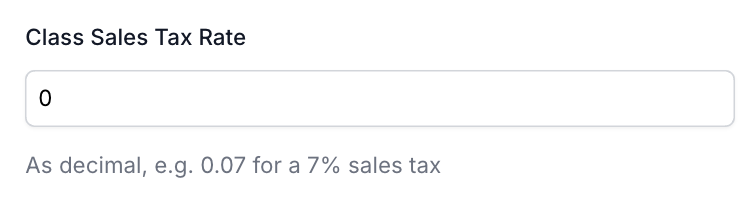
i. Set Class Sales Tax Rate (as a decimal)
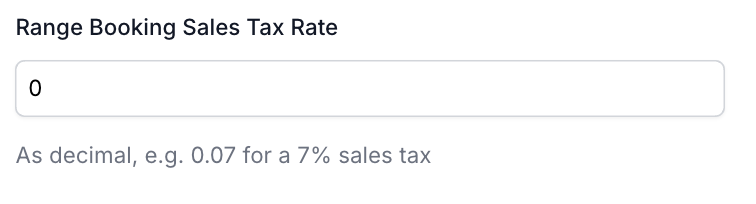
ii. Set Range Booking Sales Tax Rate (as a decimal)
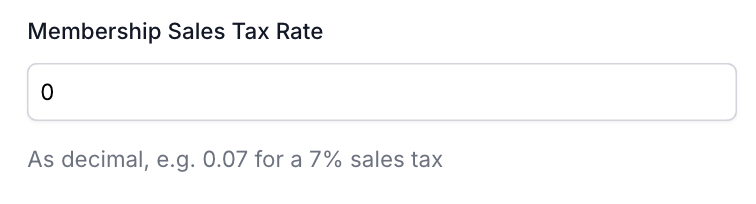
iii. Set Membership Sales Tax Rate (as a decimal)
iv. Click "Save Changes"
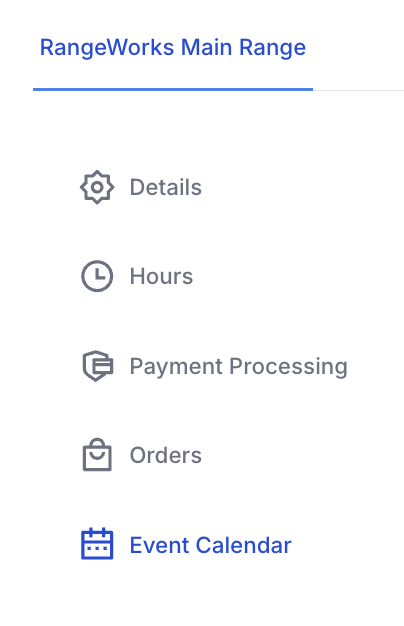
5. Event Calendar Settings
a. Click into "Event Calendar" Tab
b. Set Event Calendar Configuration Colors
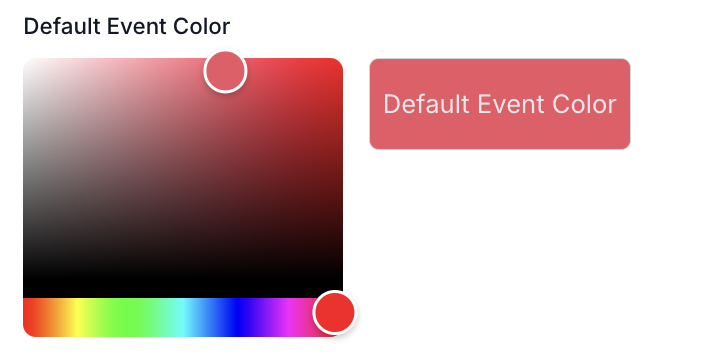
i. Default Event Color: Color events will show in your calendar
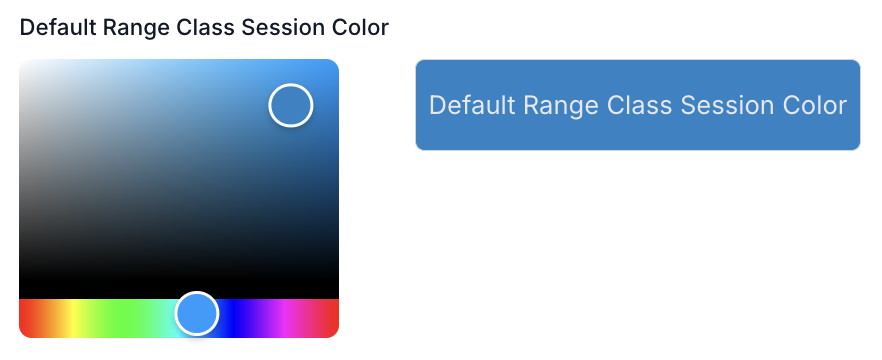
ii. Default Range Class Session Color: Color range class sessions will show in your calendar
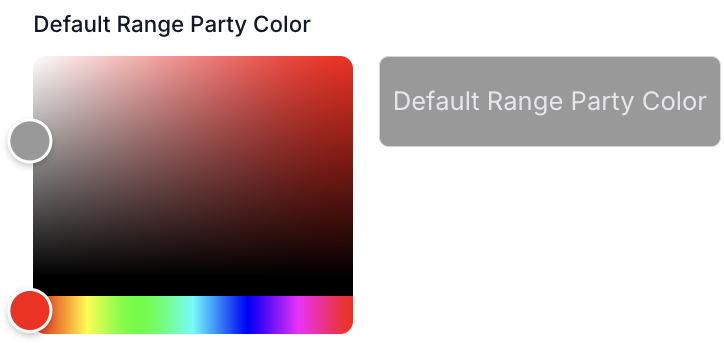
iii. Default Range Party Color: Color range parties will show in your calendar
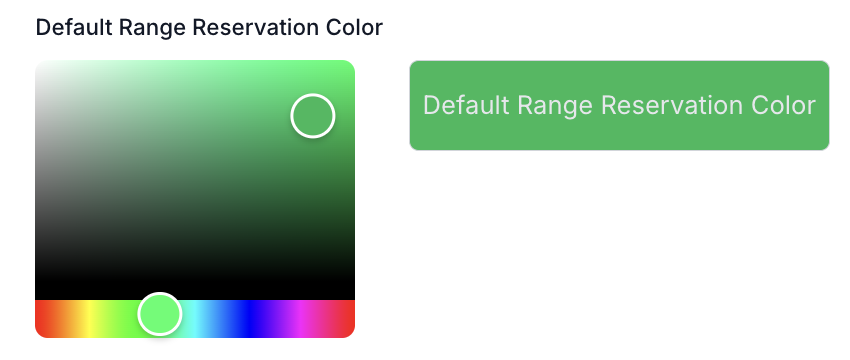
iv. Default Range Reservation Color: Color range reservations will show in your calendar
v. Click "Save Changes"