How to Manage a Training Session
Last updated: July 7, 2025
Prerequisites
Before trying to manage a class, ensure:
You are logged in as an Administrator or a user with Training permissions.
To add Classes to your RangeWorks services contact Support
You have the Training Class Type created
Reference: How to Create a Training Class
Steps to Managing a Training Class
1. Navigate to the Training and Class Pages
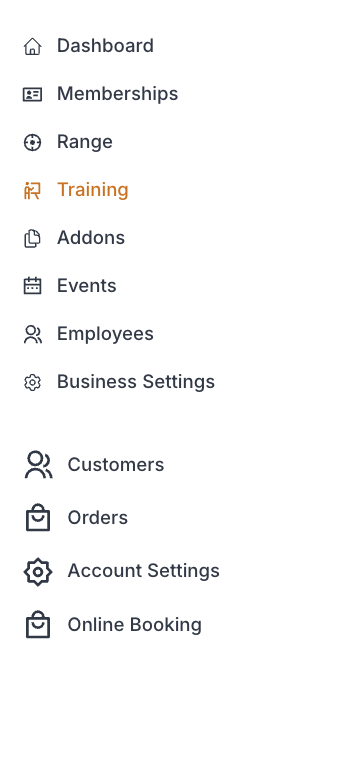
From the Admin Dashboard, go to Training
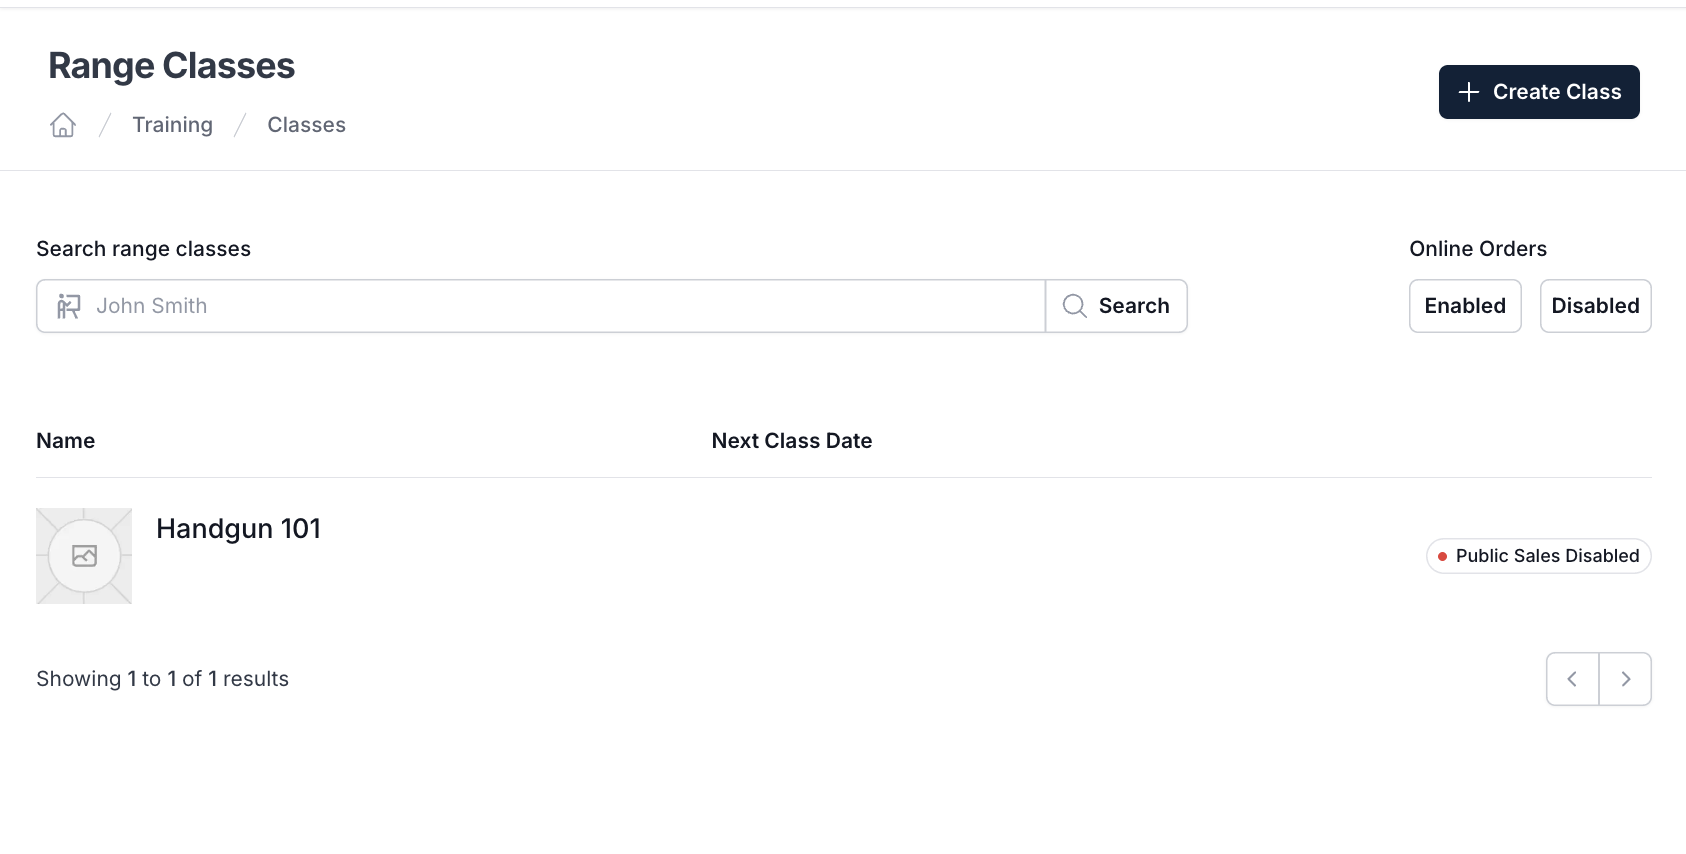
While in "Classes", select the class you want to manage
2. Management Menu Options

a. Enable/Disable Web Sales:
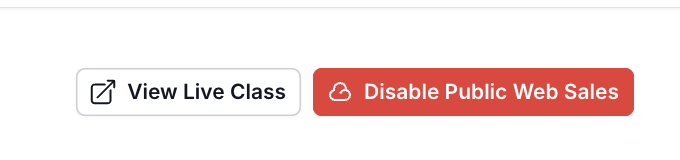
► Click "Disable Public Web Sales" to disable
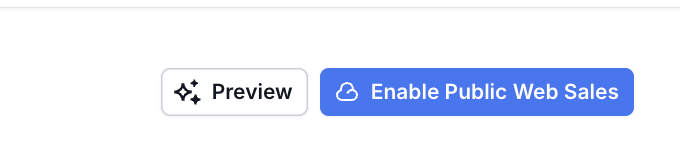
► Click "Enable Public Web Sales" to enable
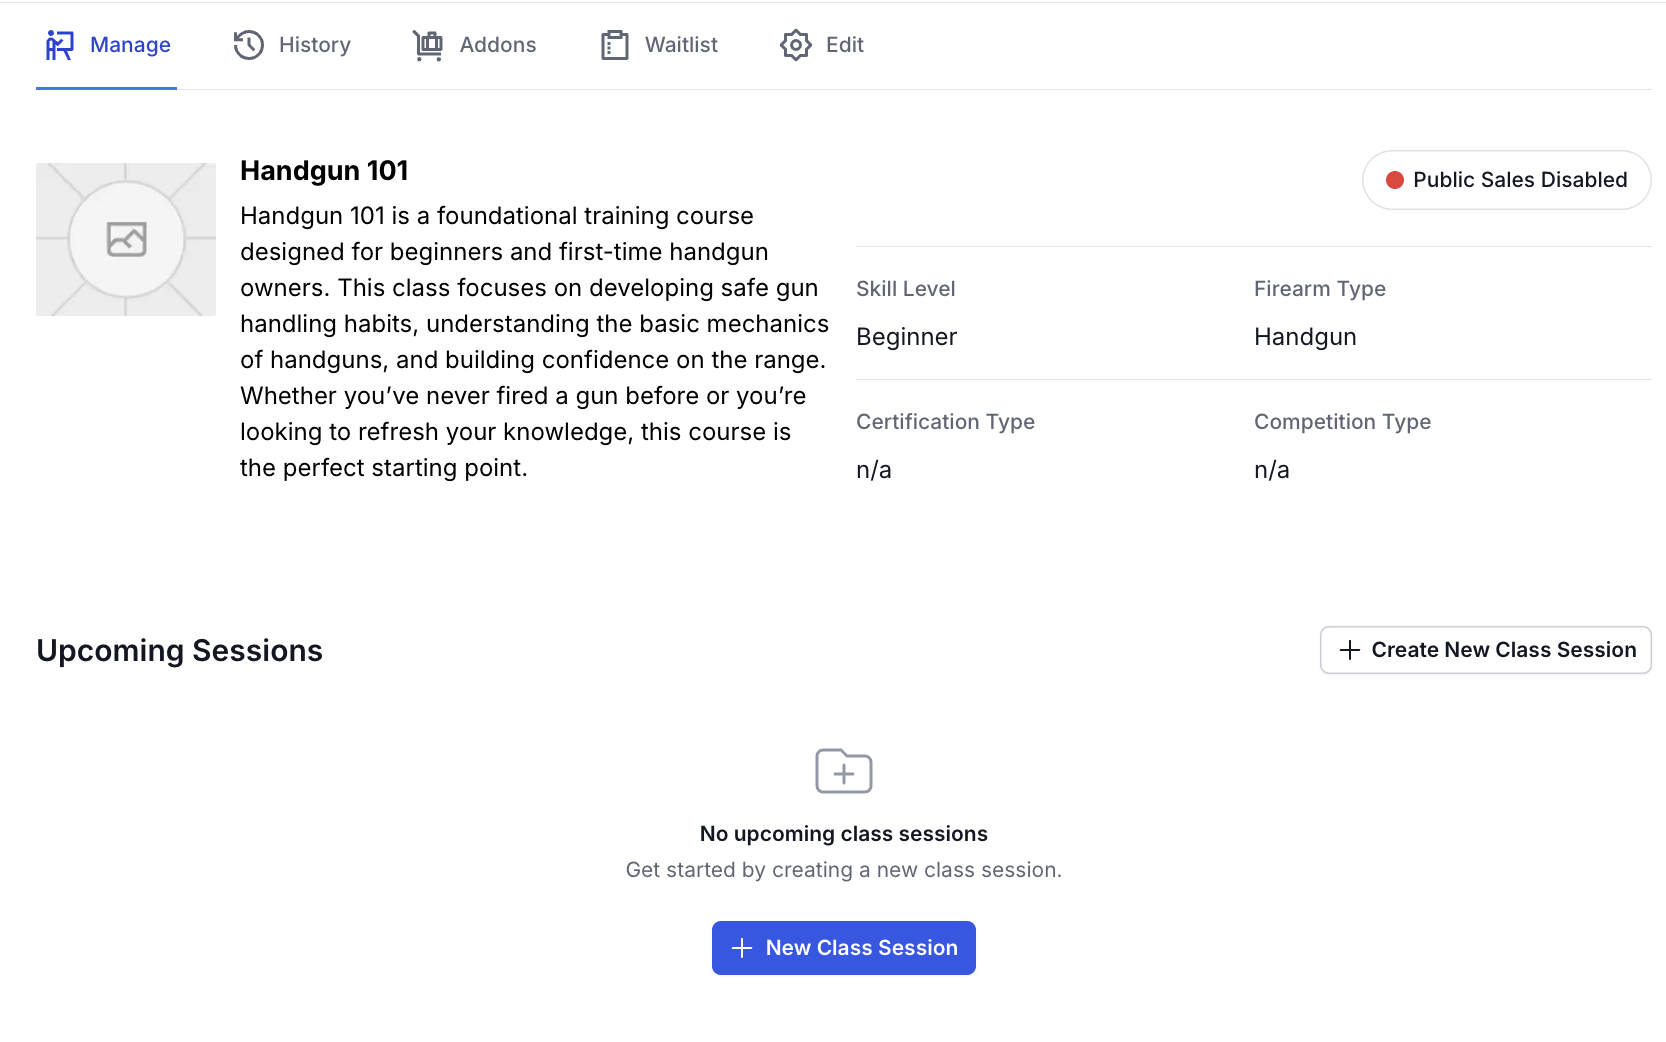
b. Manage:
► This tab allows you to create new class sessions, reference Help Document "How to Create a Class Session"
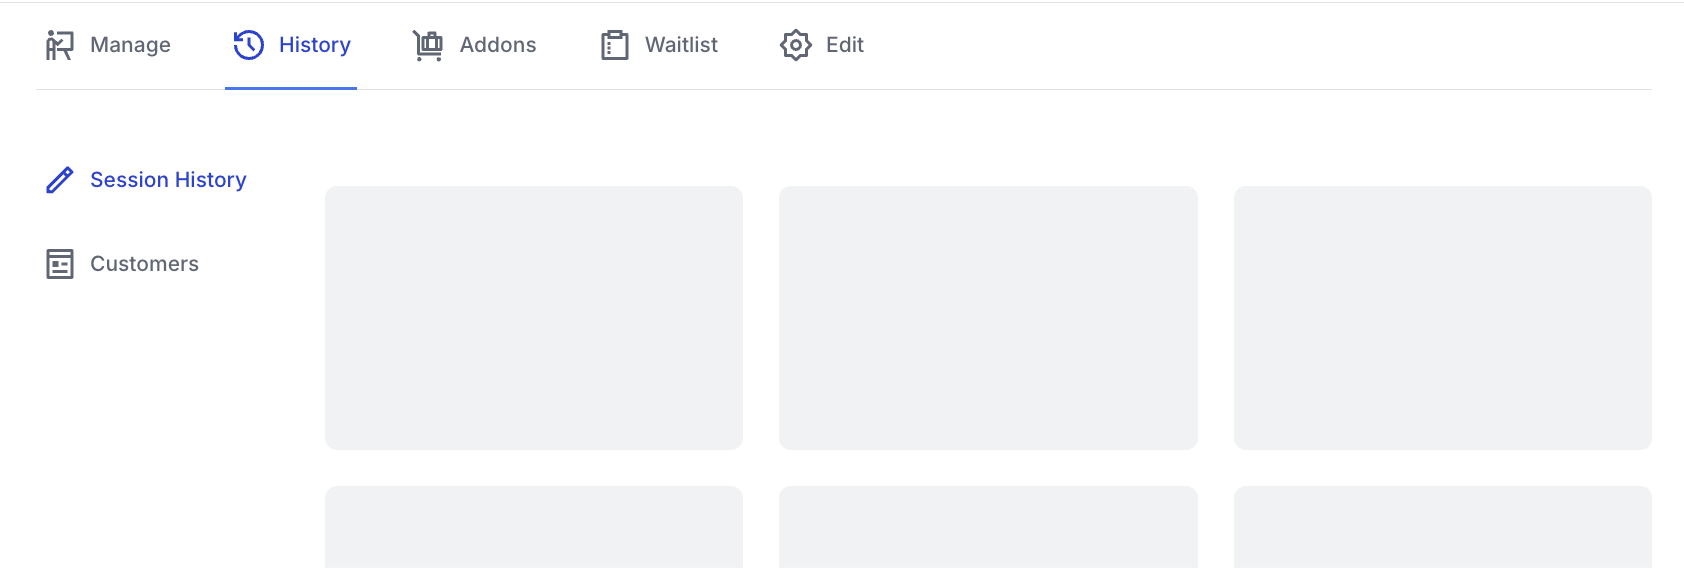
c. History:
► This tab allows you to see past sessions and customers who have taken this class
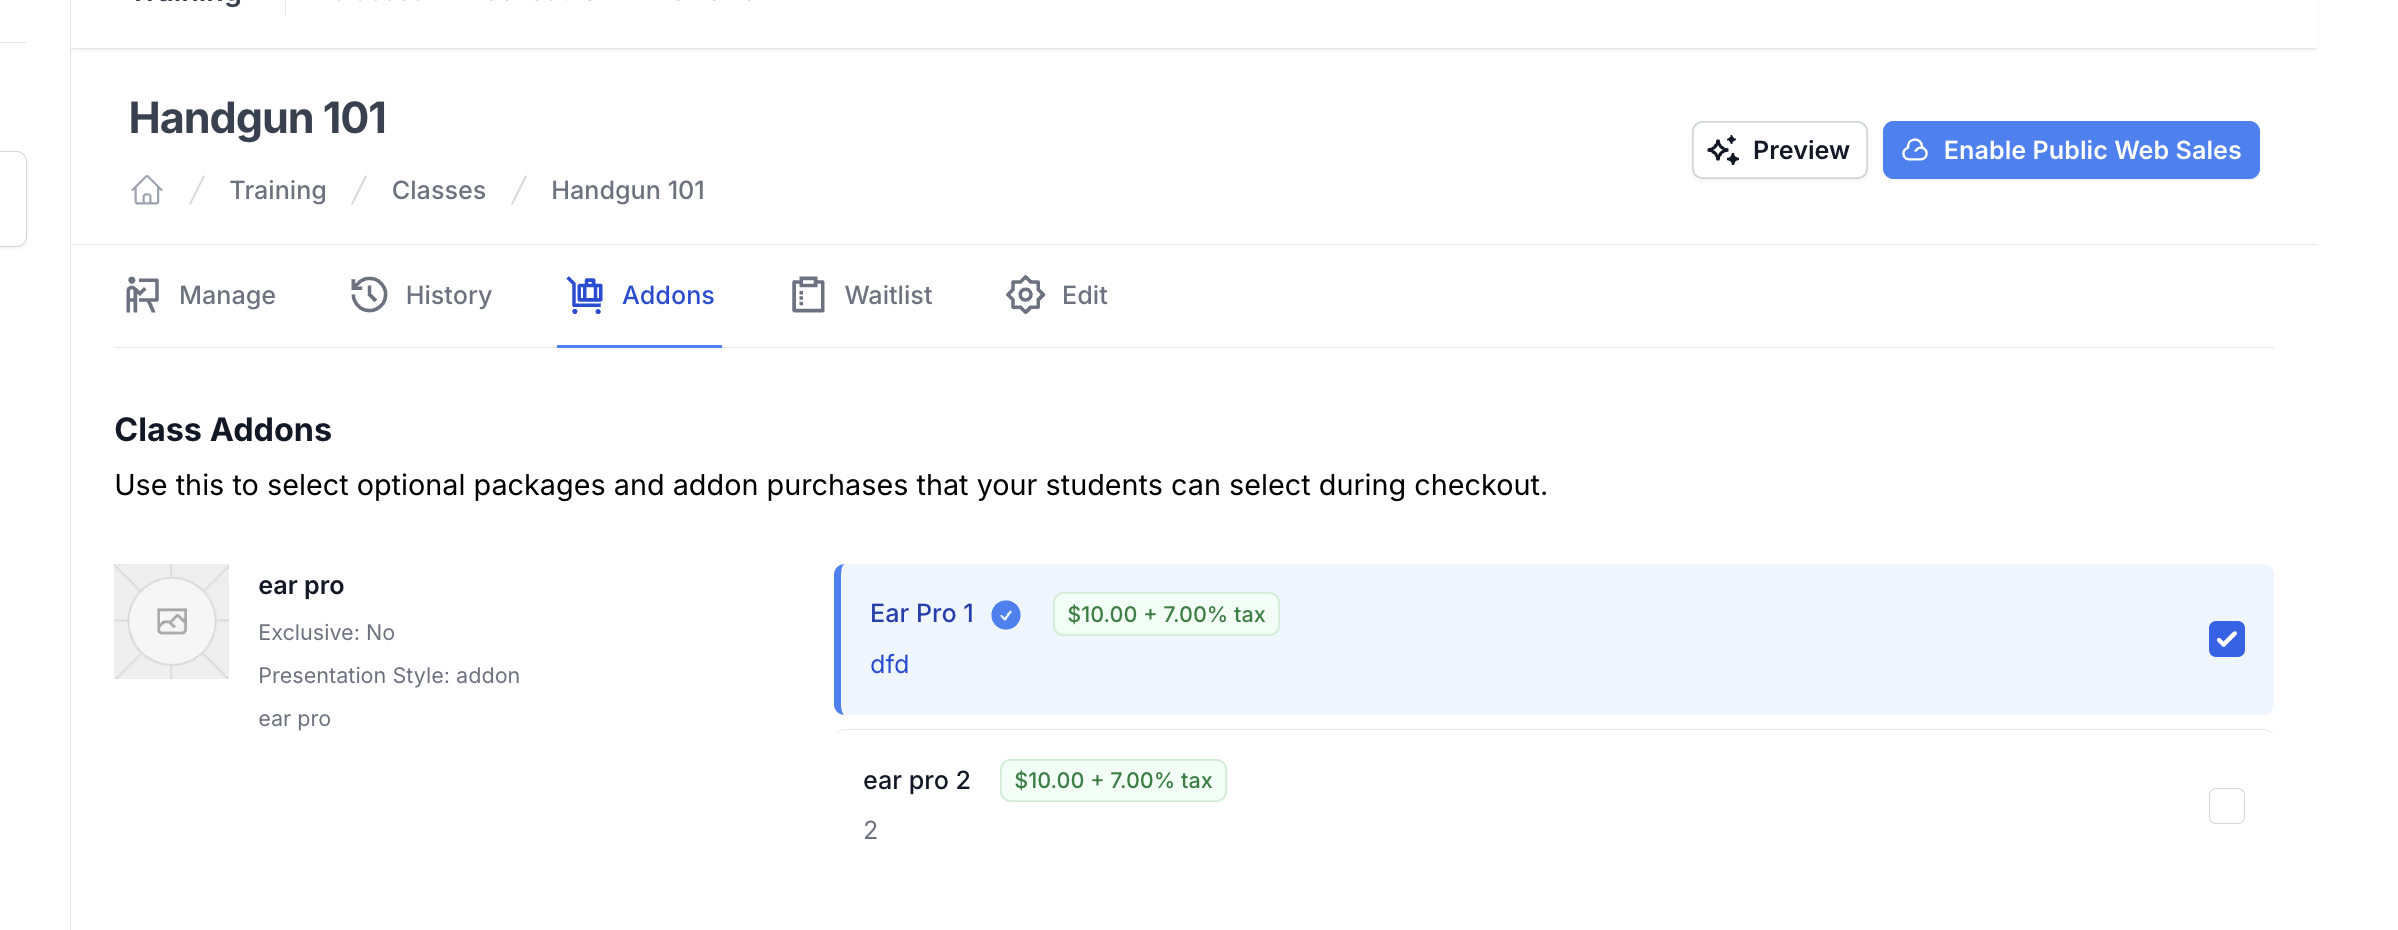
d. Addons:
► This tab allows for the selection of optional packages and add ons students can select to purchase during checkout
See "How to Create a New Addon Group"
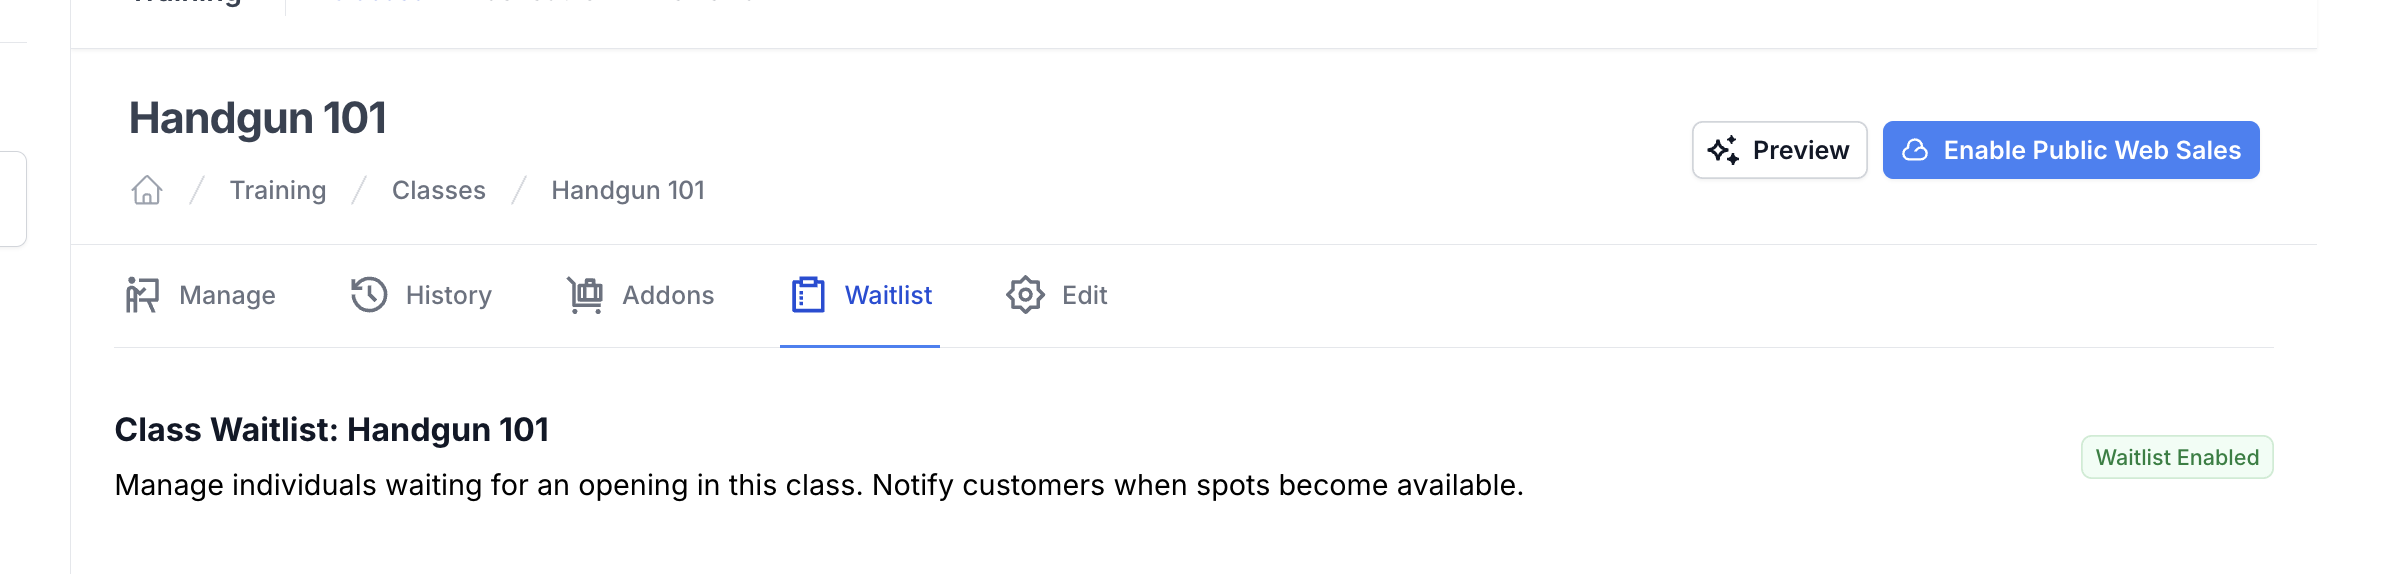
e. Waitlist
► This tab allows you to manage the waitlist for the class and notify customers when spots become available
f. Edit
i. Edit Class Details: Allows you to edit the basic information below:
Field | Field Description |
Name | A clear name for the class (e.g., “Intro to Range Safety”) |
Description | Brief overview of what the class covers (Internal description of the class) |
Class Options |
|
Checkout Form Optional Settings | Select to enable the following at check out:
|
Contact to Purchase | Select to enable contact to purchase flag:
|
Disable Discount Optional Settings | Select checkbox to :
|
Consumer Interface Settings | Select to enable:
|
► Click "Save Changes" button to save updated information
►Class can also be destroyed from this page by clicking "Destroy Class"
ii. Edit Web Content: Allows you to add the following content
Field | Field Description |
Upload Class Image | All file types allowed (max file size 50MB). Make sure to click upload after selecting file |
Short Description | Description that will show in class list |
Full Description | The primary class description that will display on the class page. Be as detailed as possible and include any important information about the class. |
Class Details Sidebar | Use this to provide additional information about the class that will be displayed on the sidebar of the class page. This is a great place to add bulleted lists, links, or other important information. |
Class Legal Copy | Legal content that will be displayed in the footer of the class page. Use this for cancellation policies, terms and conditions, or other legal information specific to the class. |
► Click "Save Changes" button to save updated information
iii. Post Order Settings: Allows you to add the following information for confirmation page, confirmation email, reminder email and follow up email
Field | Field Description |
Third Party Waiver URL | This URL will be displayed on the order confirmation page and in the order confirmation email. Use this to link to a third party waiver form |
Post Order Instructions | These instructions will be displayed on the order confirmation page. Use this to provide follow up information such as directions, parking instructions, or other important details. |
Post Order Confirmation Email | These instructions will be sent in the order confirmation email. Use this to provide follow up information such as directions, parking instructions, or other important details. |
Reminder Email Copy | Custom content that will be displayed in the pre-class reminder email |
Follow Up Email Copy | Custom content that will be displayed in the post-class follow up email. Use this to provide links to additional resources, surveys, or other important information. This email will be sent to all attendees after the class has ended. |
► Click "Save Changes" button to save updated information
iv. Custom Form Inputs: Allows you to set up additional fields of information to be collected from students at checkout
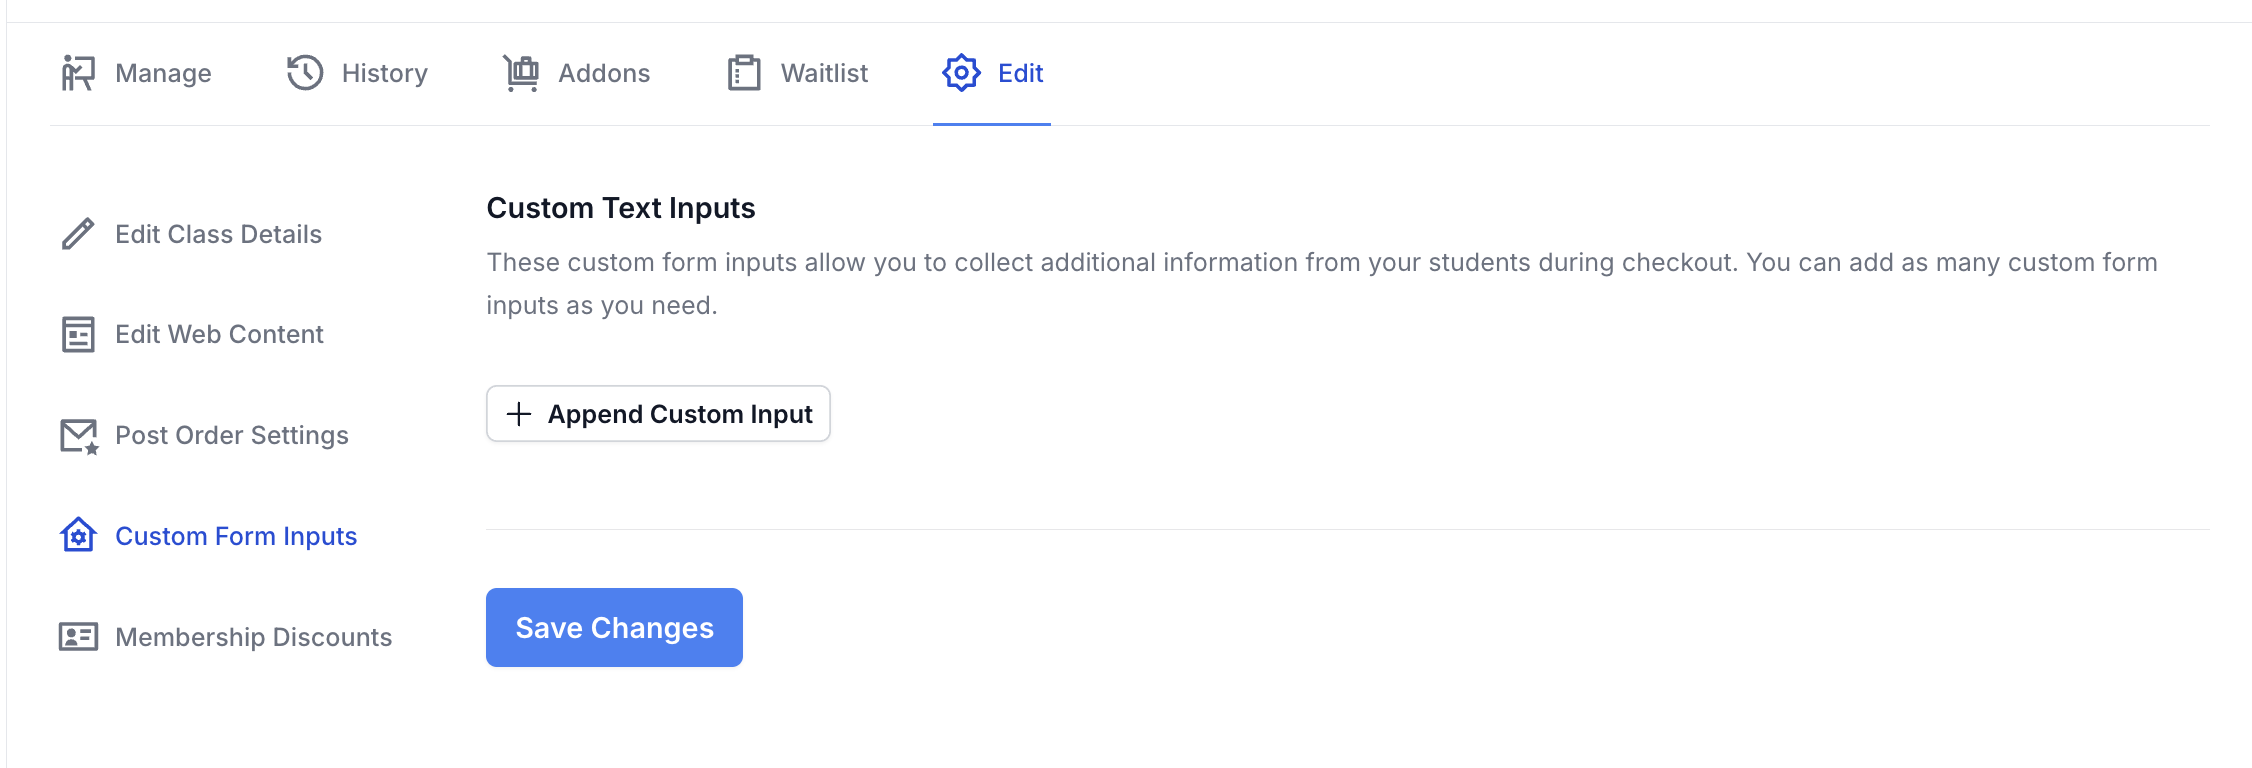
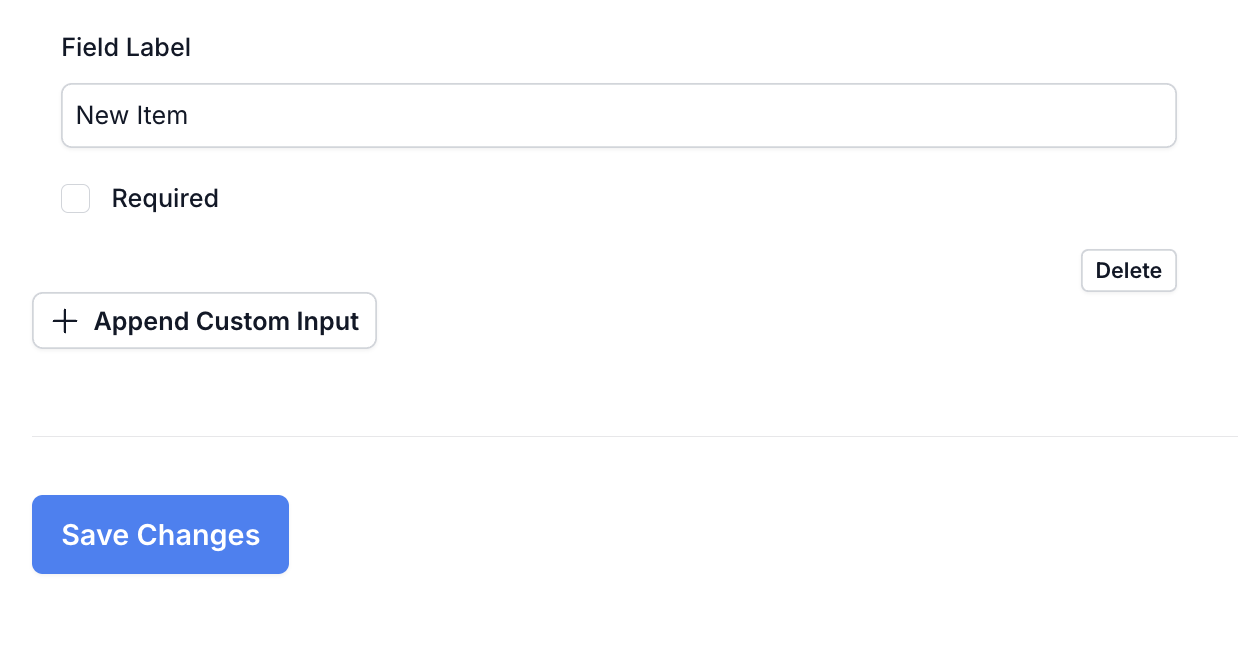
► Click "Append Custom Input" button to add a custom input
► Enter Field title (e.g. Right or Left Handed)
► Check/Uncheck box for if information field will be required
► Click "Save Changes" button to add a custom input
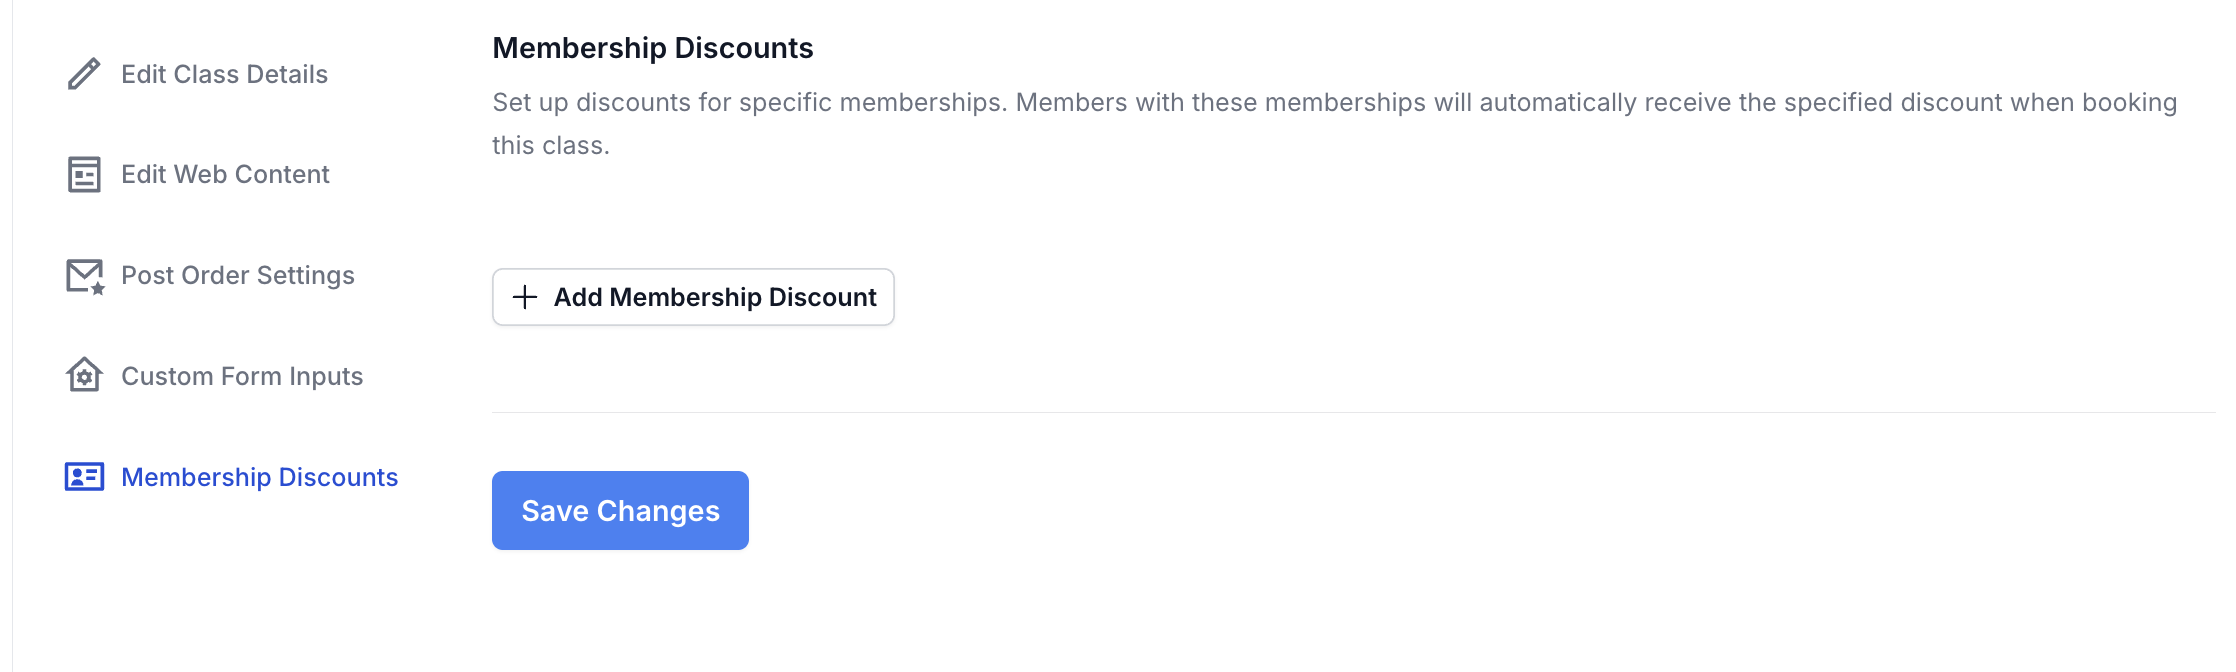
v. Membership Discounts: Allows you to set up discounts for specific memberships. Members with these memberships will automatically receive the specified discount when booking this class.
► Click "Add Membership Discount" button to add a custom input
► Select Membership from dropdown menu you would like to give the discount
► Enter the Discount Percentage (0-100)
► Click "Save Changes" button to save updated information